> ## Documentation Index
> Fetch the complete documentation index at: https://aibco.mintlify.site/llms.txt
> Use this file to discover all available pages before exploring further.
# Get Started with AIBCO in Minutes
> From sign-in to a live widget on your website. Add products, pick a model, configure your widget, train the chat, test, and embed the snippet.
This guide walks you through the complete AIBCO setup end to end. You will sign in, use the Setup Wizard (or configure manually), add products, choose a visualization model, pick a widget mode, optionally train the chat, test in the Playground, and embed the snippet on your website.
**By the end you will have:**
* At least one product in your catalog
* A widget mode selected (Render Only or Render + Chat)
* Your website domain authorized
* Chat knowledge added (Render + Chat only)
* Either the embed snippet live on your website OR your hosted page published
Go to [aibco.ai](https://aibco.ai) and click **Sign in**. Enter your email address and AIBCO will send a magic link to your inbox. Click the link to land on your dashboard at `aibco.ai/dashboard`.
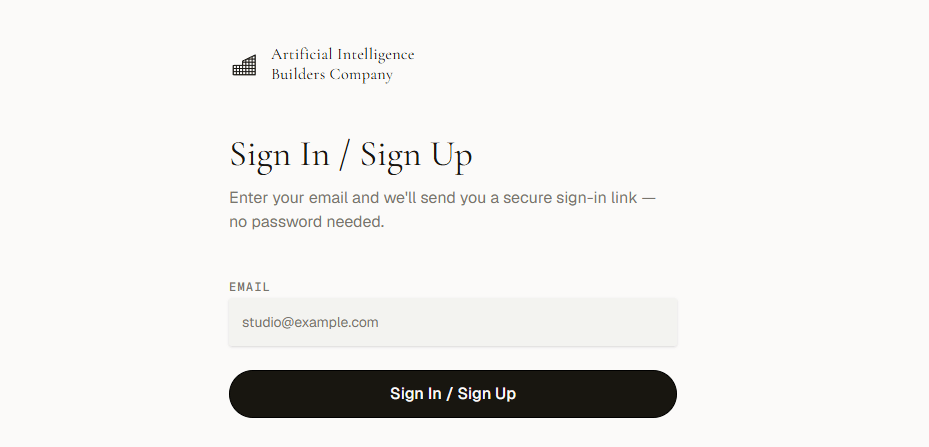 No password needed. Each magic link is single-use and expires after a few minutes.
After your first sign-in, the **Setup Wizard** opens automatically. Enter your website URL and click **Start setup**. The AI scans your site (10 credits, roughly 2 to 3 minutes) and applies a company profile, chat knowledge, and products automatically. Review and edit everything afterwards on the Products, Chat, and General pages. See [Setup Wizard](/setup-wizard).
No password needed. Each magic link is single-use and expires after a few minutes.
After your first sign-in, the **Setup Wizard** opens automatically. Enter your website URL and click **Start setup**. The AI scans your site (10 credits, roughly 2 to 3 minutes) and applies a company profile, chat knowledge, and products automatically. Review and edit everything afterwards on the Products, Chat, and General pages. See [Setup Wizard](/setup-wizard).
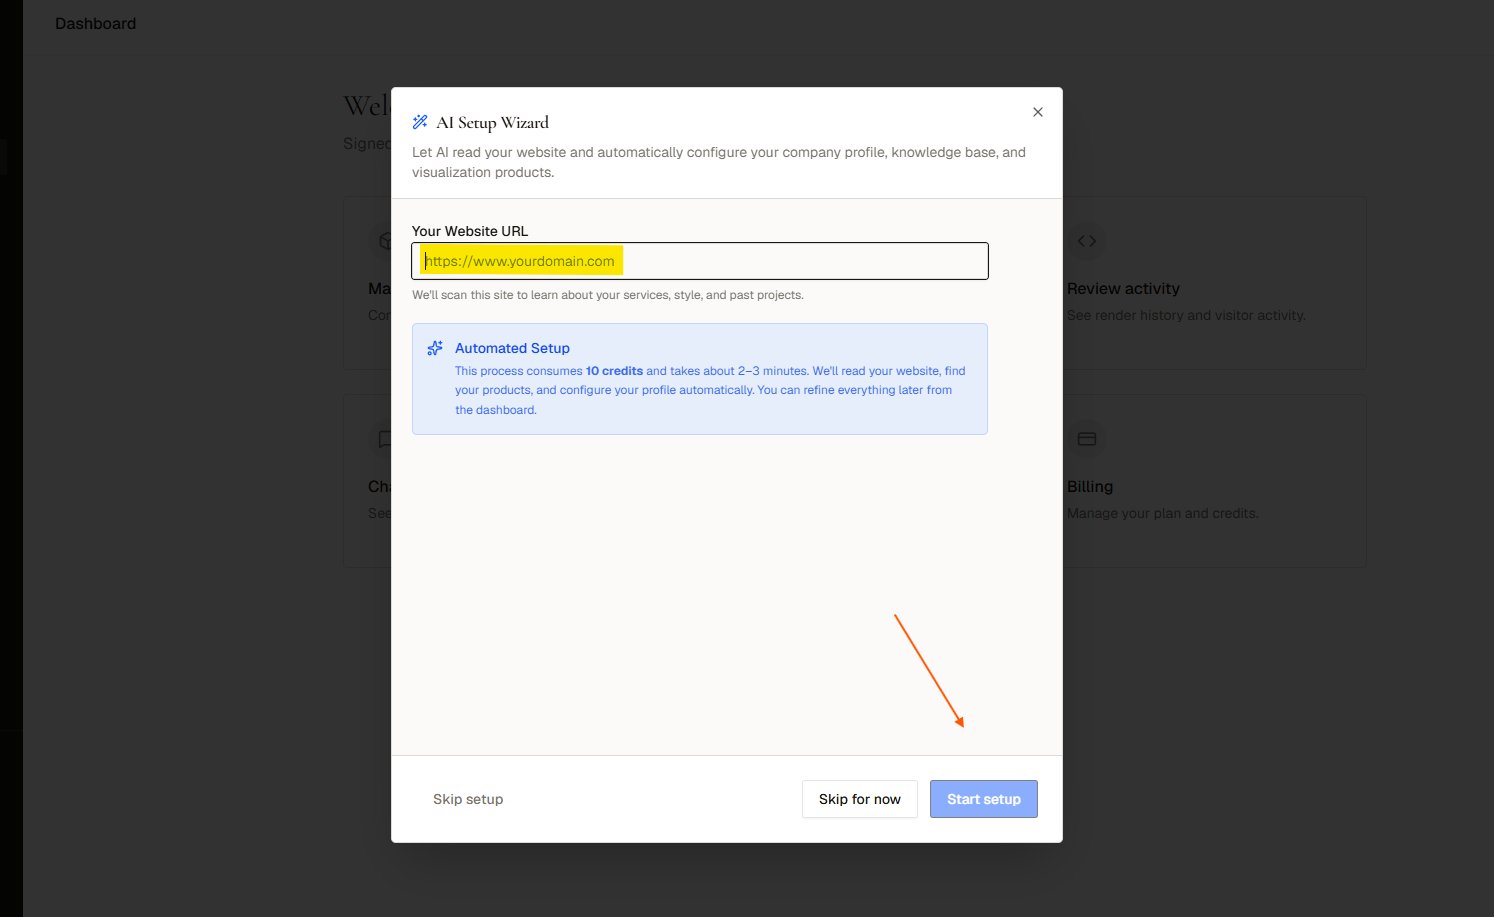 Click **Skip setup** at any time to configure manually.
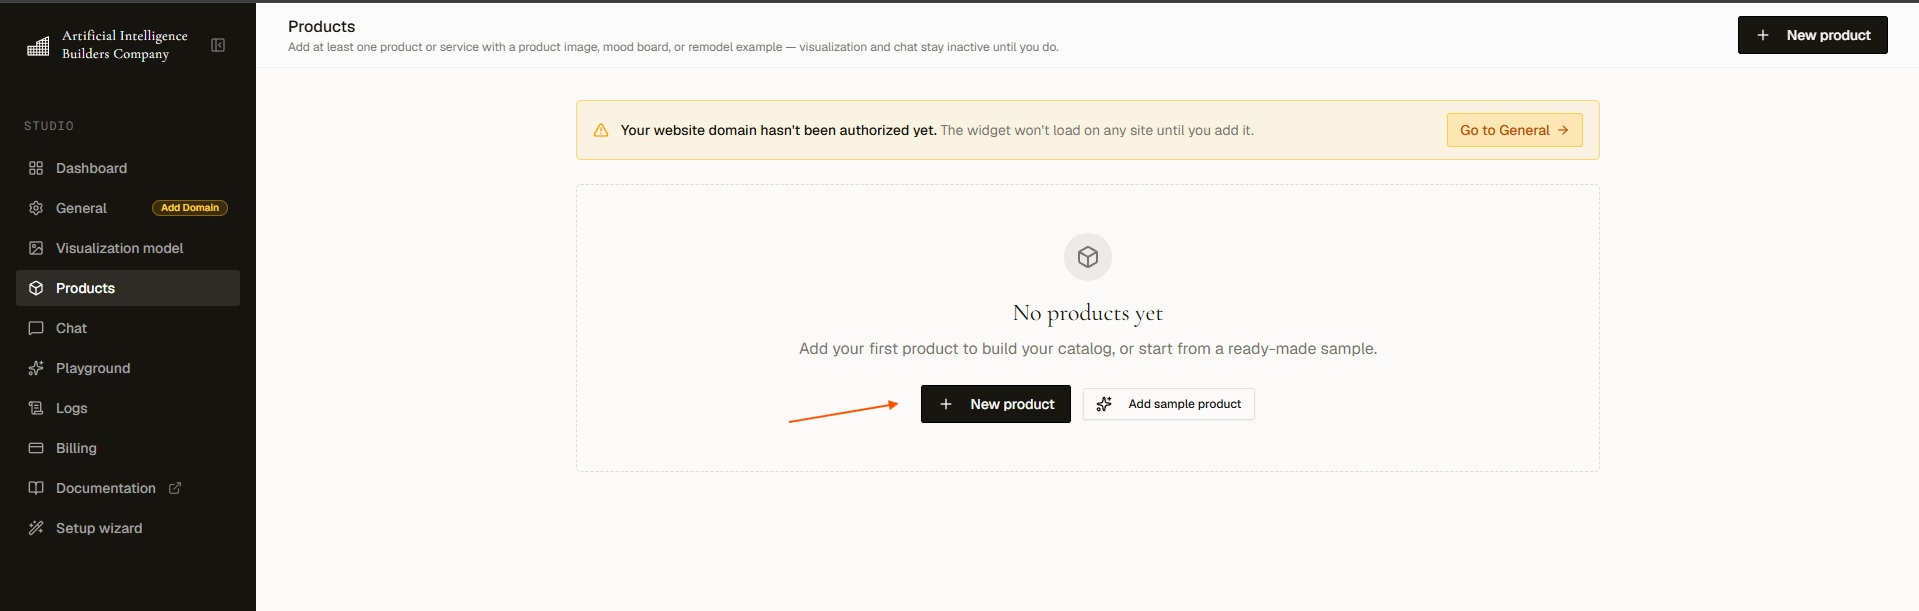
In the left sidebar, click **Products**, then **New product**. Fill in Name, Type (scope and intent), Visitor description, and optional Internal notes. Save, then click the image icon to upload up to 4 images. A product goes **Live** automatically once it has at least one image.
Click **Skip setup** at any time to configure manually.
In the left sidebar, click **Products**, then **New product**. Fill in Name, Type (scope and intent), Visitor description, and optional Internal notes. Save, then click the image icon to upload up to 4 images. A product goes **Live** automatically once it has at least one image.
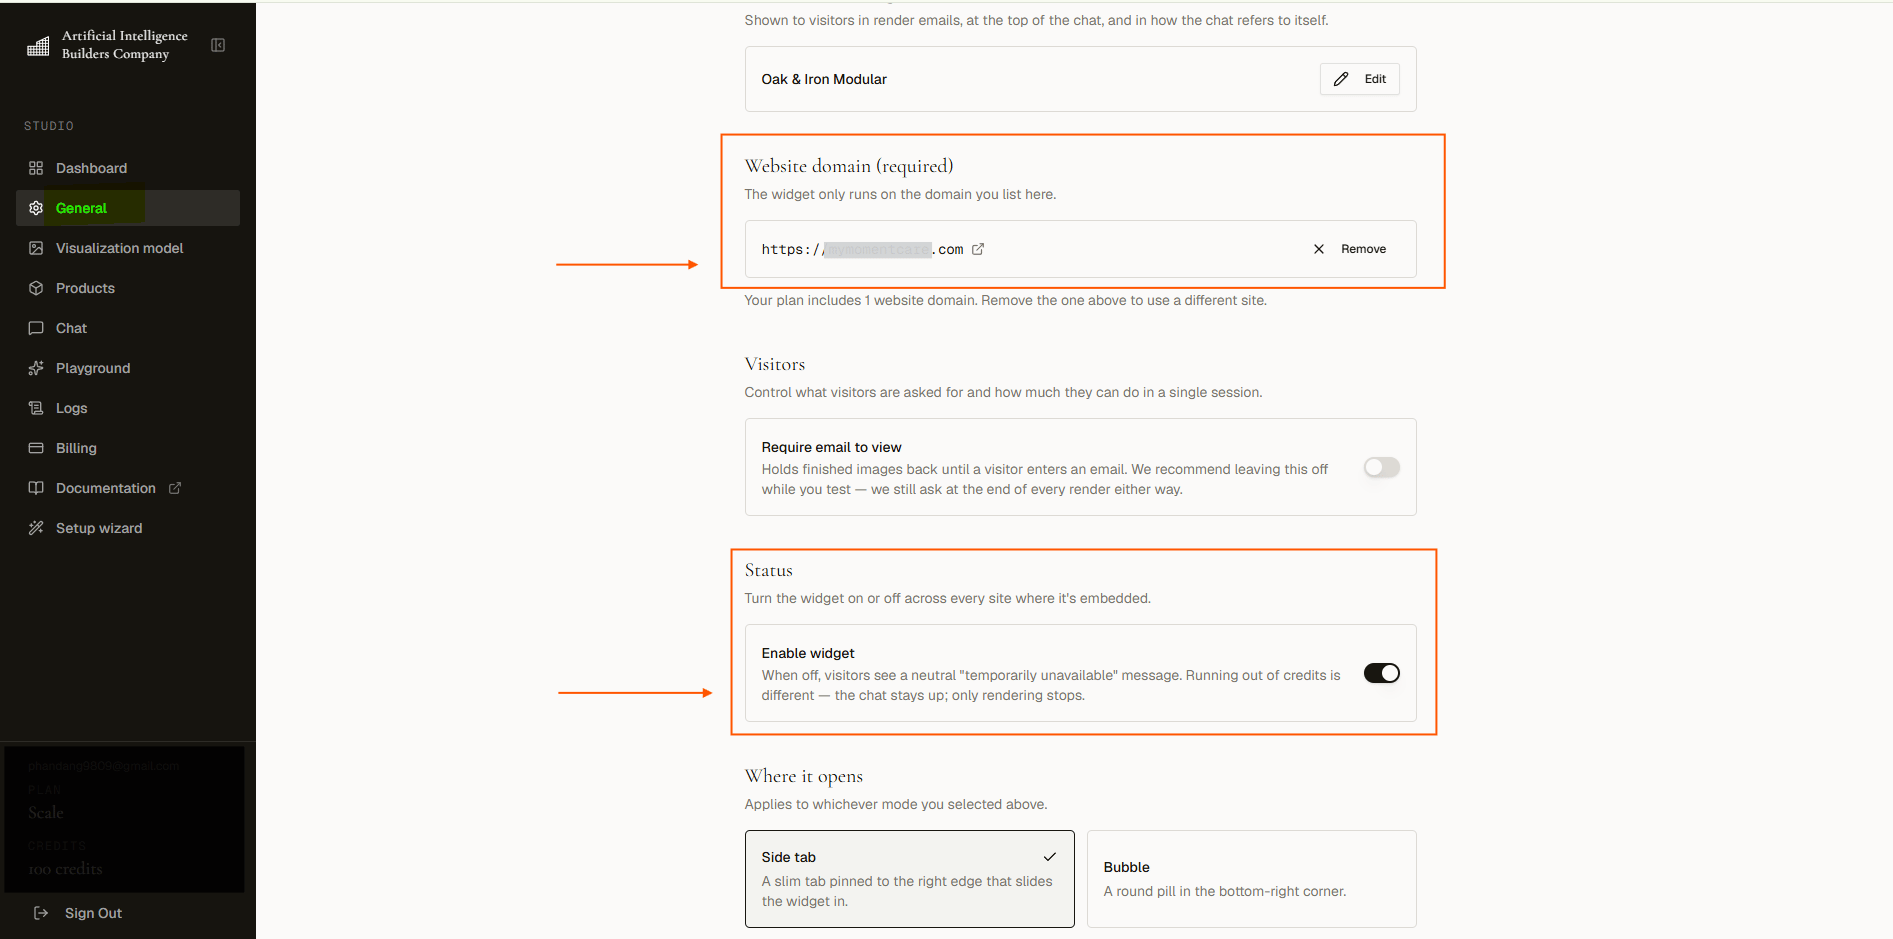
 Open [aibco.ai/dashboard/general](https://aibco.ai/dashboard/general). Choose your widget mode (Render Only or Render + Chat), set your business name, authorize your website domain or publish your hosted page at `aibco.ai/company/your-name`, pick a launcher style (Side tab or Bubble), set custom launcher text, and turn on **Enable widget**.
 Start with Render Only to go live faster. Switch to Render + Chat once your knowledge base is ready.
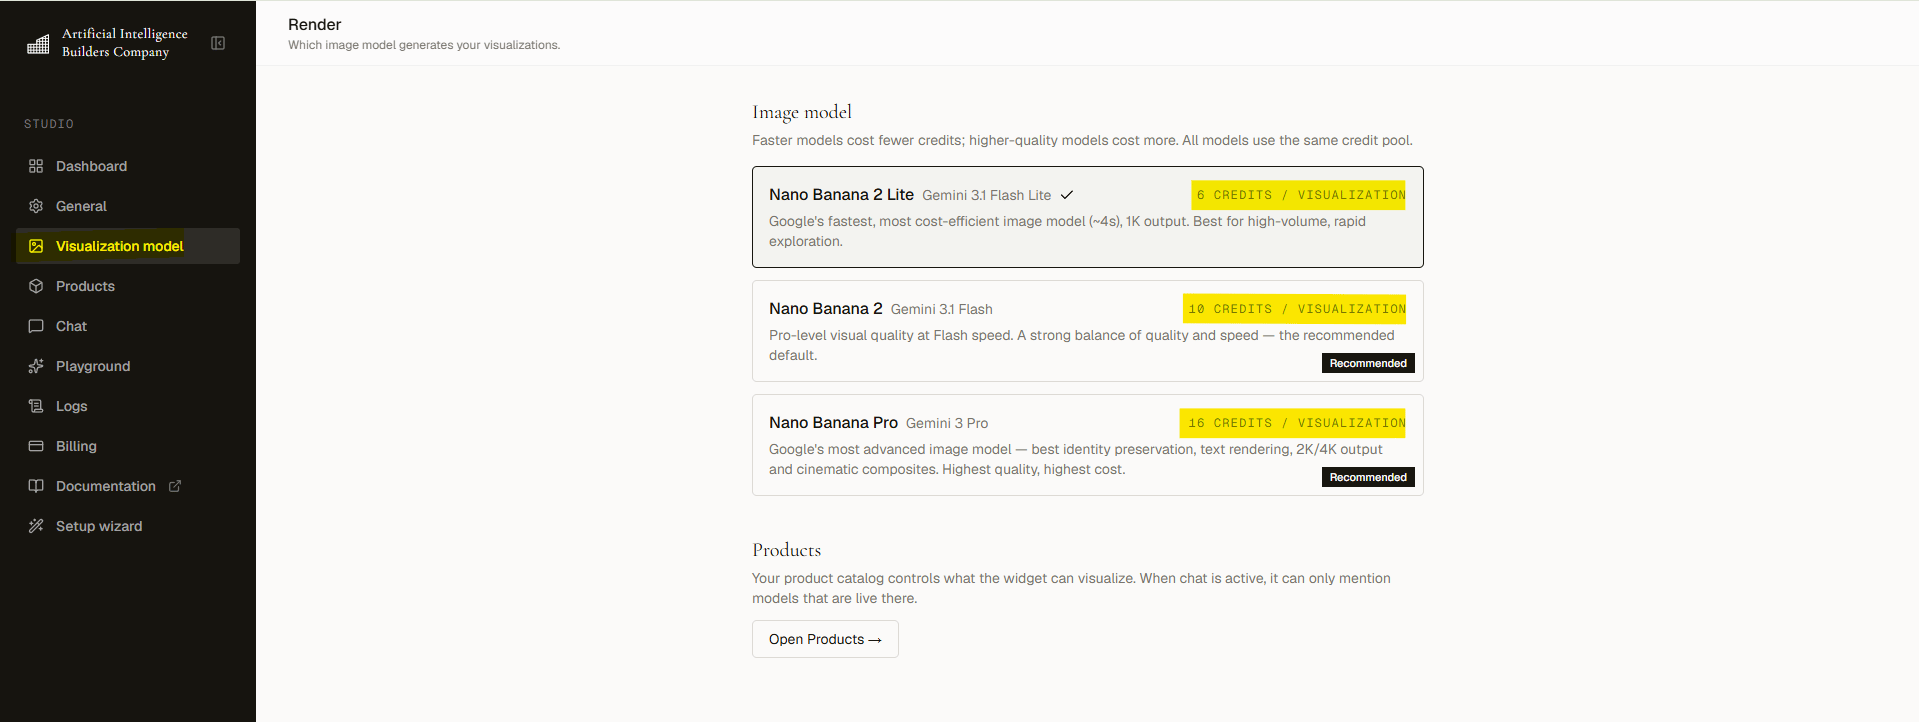
Go to [aibco.ai/dashboard/render](https://aibco.ai/dashboard/render) to pick which AI model generates your renders. Prices range from 6 to 16 credits per visualization (each visualization returns 4 images). See [Visualization Model](/widget/visualization-model).
Start with Render Only to go live faster. Switch to Render + Chat once your knowledge base is ready.
Go to [aibco.ai/dashboard/render](https://aibco.ai/dashboard/render) to pick which AI model generates your renders. Prices range from 6 to 16 credits per visualization (each visualization returns 4 images). See [Visualization Model](/widget/visualization-model).
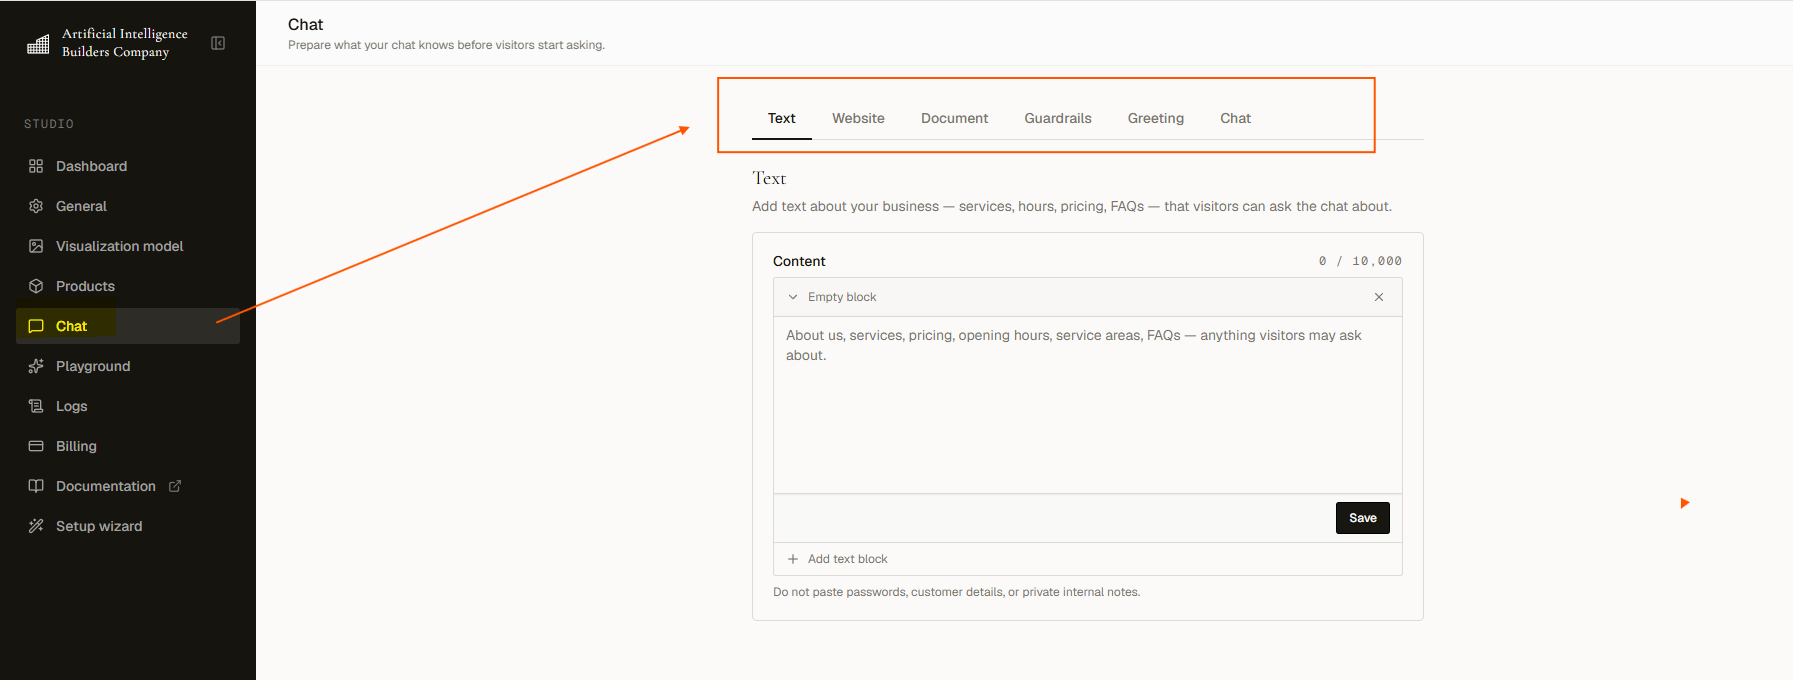
 Go to [aibco.ai/dashboard/chat](https://aibco.ai/dashboard/chat) to add knowledge. Write it manually in **Text**, scan up to 10 public URLs in **Website** (10 credits per scan, flat), or upload PDF, .txt, or .md files in **Document** (PDFs cost 1 credit at upload; text and markdown are free, up to 5 documents, max 10 MB each). Your total knowledge capacity is 30,000 characters. Add **Guardrails**, configure a **Greeting**, and set a **Message limit** for each session (7 to 25).
 Visit [aibco.ai/dashboard/test](https://aibco.ai/dashboard/test) to simulate a visitor session. Try a render, ask a chat question, and confirm the greeting appears. Click **Start fresh** to reset. Playground activity costs credits like real visitors.
In **General → Install snippet**, click **Copy snippet** and paste it into the `` of your site (recommended) or before the closing `` tag:
```html theme={null}
```
The same snippet works for both modes. AIBCO supports plain HTML, Squarespace, Shopify, Wix, and WordPress. See [Embed on your website](/widget/embed).
No website, or can't edit it? Skip the snippet entirely. In **General → Hosted page**, set your **Page address** (the part after `/company/`), turn on **Publish hosted page**, and copy the `aibco.ai/company/your-name` link. Share it on Instagram, in an email signature, in an ad, or as a QR code. See [Hosted page](/hosted-page/overview).
Running both is common: the embed lives on your site, the hosted page is the link you can share anywhere. Same products, chat, credits, and leads.
Create and manage your full product catalog.
Fine-tune your widget mode, launcher, and domain settings.
See who converted and export contact details.
Learn what costs what and how billing works.
Visit [aibco.ai/dashboard/test](https://aibco.ai/dashboard/test) to simulate a visitor session. Try a render, ask a chat question, and confirm the greeting appears. Click **Start fresh** to reset. Playground activity costs credits like real visitors.
In **General → Install snippet**, click **Copy snippet** and paste it into the `` of your site (recommended) or before the closing `` tag:
```html theme={null}
```
The same snippet works for both modes. AIBCO supports plain HTML, Squarespace, Shopify, Wix, and WordPress. See [Embed on your website](/widget/embed).
No website, or can't edit it? Skip the snippet entirely. In **General → Hosted page**, set your **Page address** (the part after `/company/`), turn on **Publish hosted page**, and copy the `aibco.ai/company/your-name` link. Share it on Instagram, in an email signature, in an ad, or as a QR code. See [Hosted page](/hosted-page/overview).
Running both is common: the embed lives on your site, the hosted page is the link you can share anywhere. Same products, chat, credits, and leads.
Create and manage your full product catalog.
Fine-tune your widget mode, launcher, and domain settings.
See who converted and export contact details.
Learn what costs what and how billing works.